


Epoxy Flooring
Shopping for that special someone who has everything? Go big or go home. Create a brand-new space for your significant other with epoxy flooring. Turn your garage or basement into an all-purpose man-cave or she-shed, exercise gym, game room or home office. Make it a place where your partner can go to socialize with friends or neighbors, or be alone, engage in a favorite hobby, watch sports on the giant screen…or whatever (s)he desires.
Ready? Start planning your epoxy flooring now.
Transform Your Space
Many rooms can be converted of course, but given how unappealing garages and basements tend to be, it makes sense to tackle one (or both) of these spaces. Dusty, stained, cracked concrete or old carpeting is stereotypical of these areas…hardly anyone wants to spend time there. So, converting your garage or basement into a pleasant, clean and cozy space will add usable square footage to your home (and increase its equity at the same time).
Start with Epoxy Flooring
Installing epoxy flooring is the first step towards converting your garage or basement into a functional extension of your home. Remember that old gray epoxy you used to see? Well epoxy flooring has come a long, long way. Now, you have the option to select from a variety of flooring styles and colors…more choice than you could ever imagine.
Choosing Your Epoxy Flooring System
First, you’ll need to select from one of several categories of concrete floor coating systems…each system is available in an array of colors to choose from. You select the one that matches your personal taste and decor.
Generally speaking, epoxy flooring systems fall into one of 4 categories:
- (a) solid color coating systems
- (b) partial or full flake coating systems
- (c) metallic coating systems
- (d) sealing coating systems
We’ll describe each to help you make the proper choice.
Coating Systems Category: Solid Color (Seamless)
Solid color coating systems are the “old-school”, resinous floor coating systems. They incorporate no flakes, no metallic pigments…just simple, solid beauty. They’ve been around for a long time, but they’re still popular in residential basements, retail stores, restaurants and shops.
Our Classic coating system series is an example.
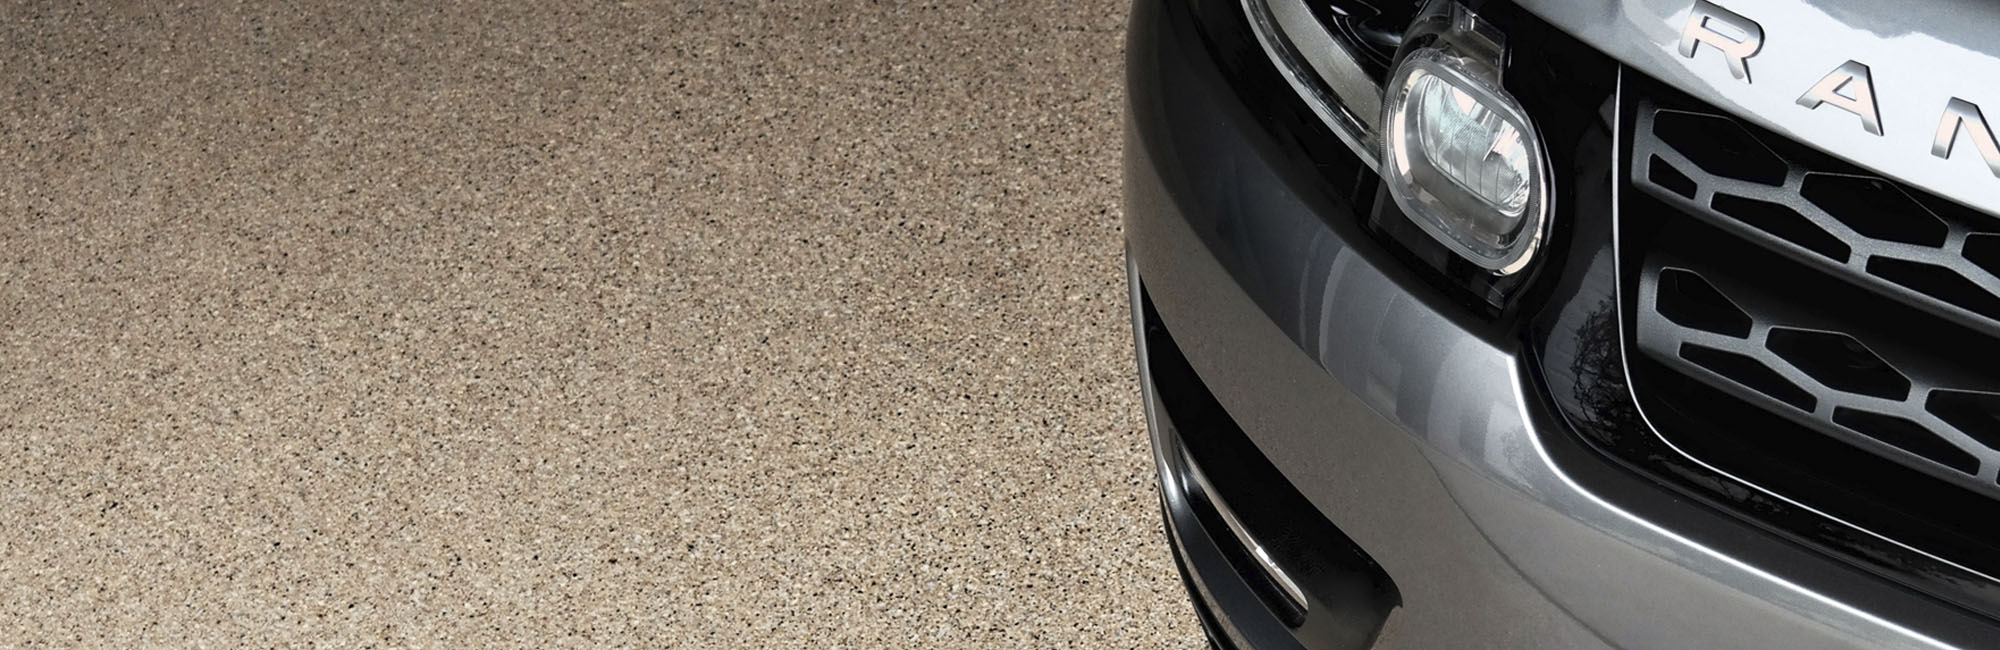
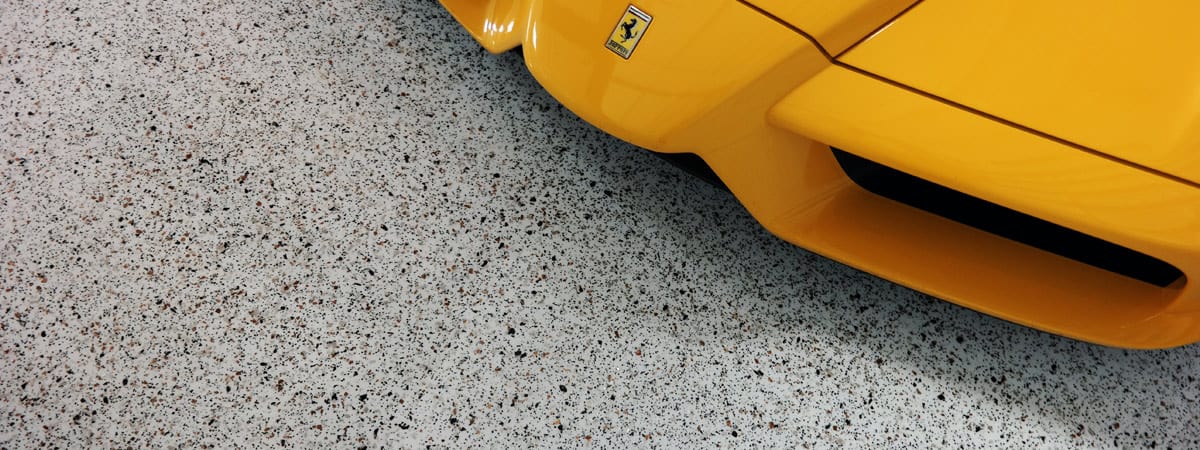
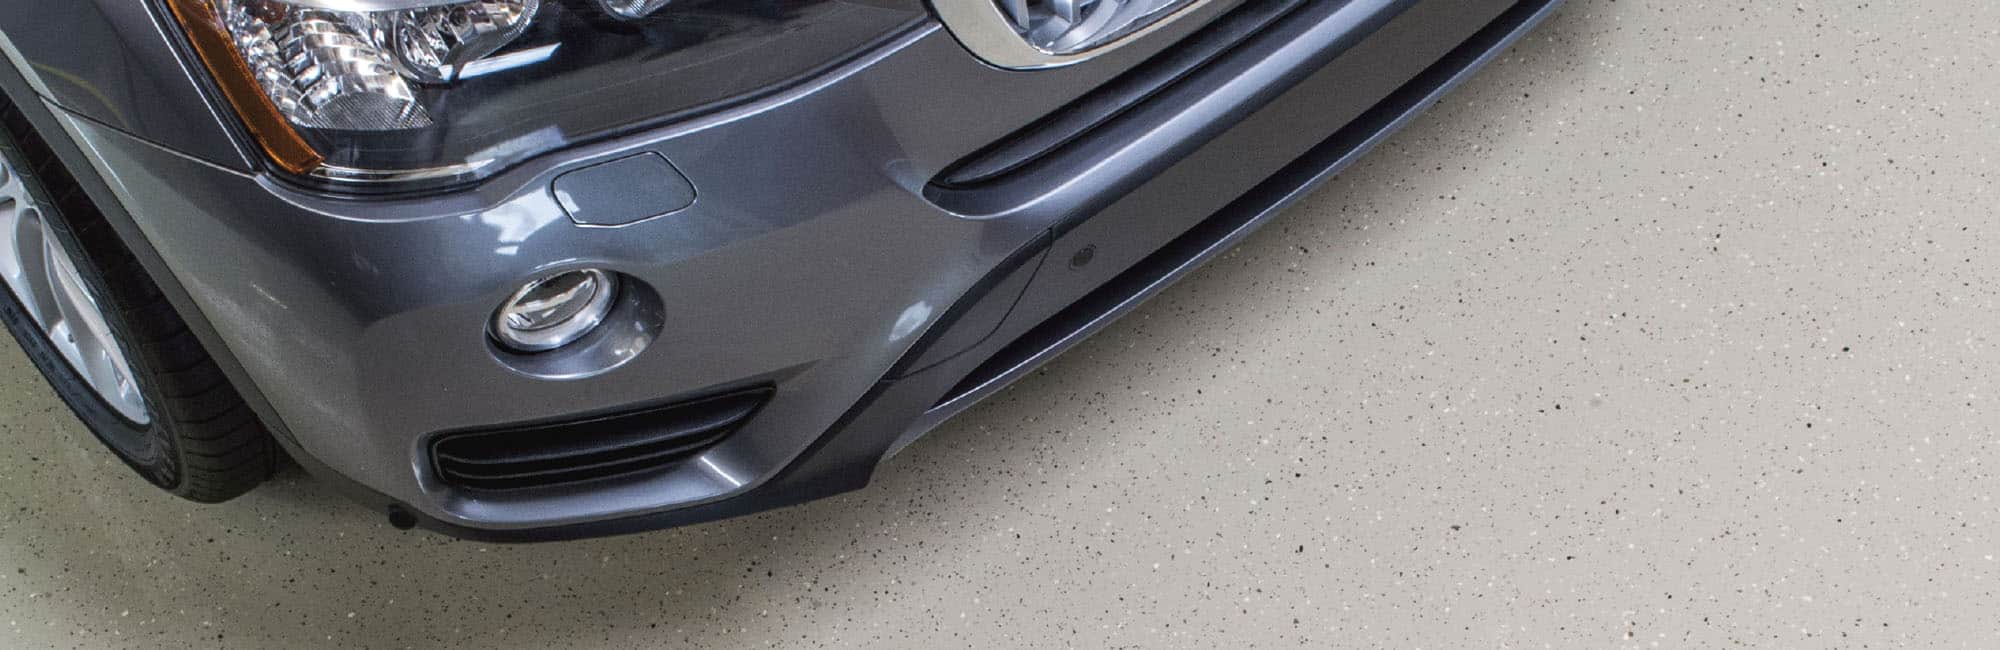
Coating Systems Category: Partial & Full-Flake
These days, the most popular of all are “flaked” coating systems. These incorporate mixed blends of colored flakes into the layered coatings. The flakes provide added color, texture and depth.
- In partial-flake coating systems, thermoplastic flakes (“chips”) or a mixture of thermoplastic and mica stone flakes are broadcast into the “wet” epoxy primer coat in a medium to heavy spread…the flakes are visible, but so is the colored base coat.
- Examples of partial flake coating systems include our Deluxe, Premium, Stone Silicate, Diamond Effects and Liquid Minerals coating systems (the Liquid Minerals is actually a combined partial flake and metallics system).
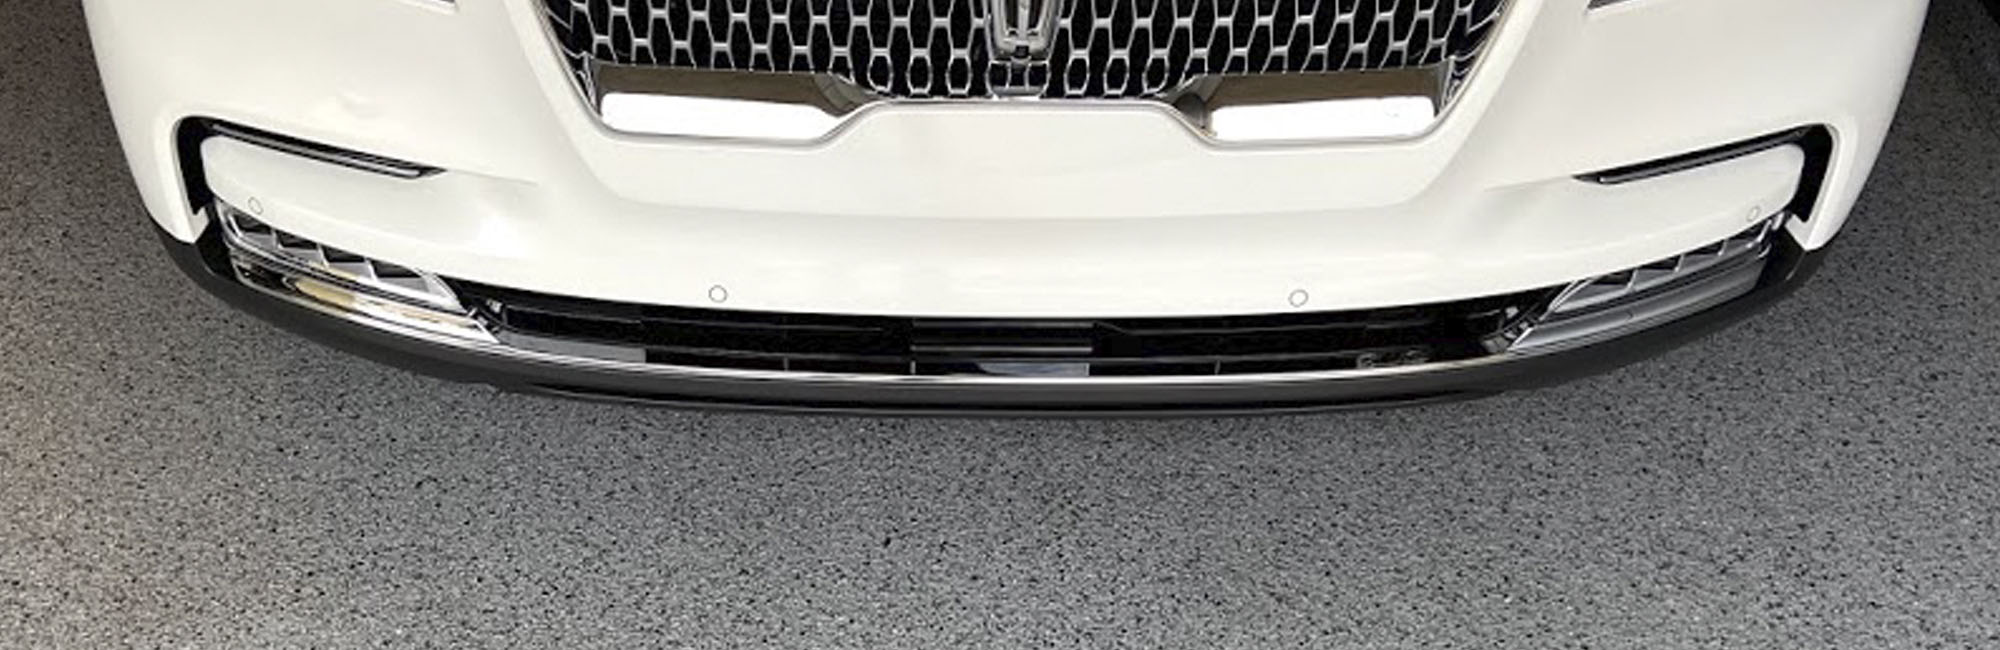
- In full-flake coating systems, the flakes are broadcast in a full spread. We call this “broadcasting to rejection”, meaning the flakes are applied to the point where the flakes fully cover the primer coat; that is, the primer coat is no longer visible. These coating systems are the thickest and most durable with a warranty to match…and are excellent for garage floors.
- Our full-flake collections include Ultra, Earth Effects, Bagari SE and Vintage Mica. The later three incorporate our proprietary mica stone blends, which add incredible reflectivity and sparkle.
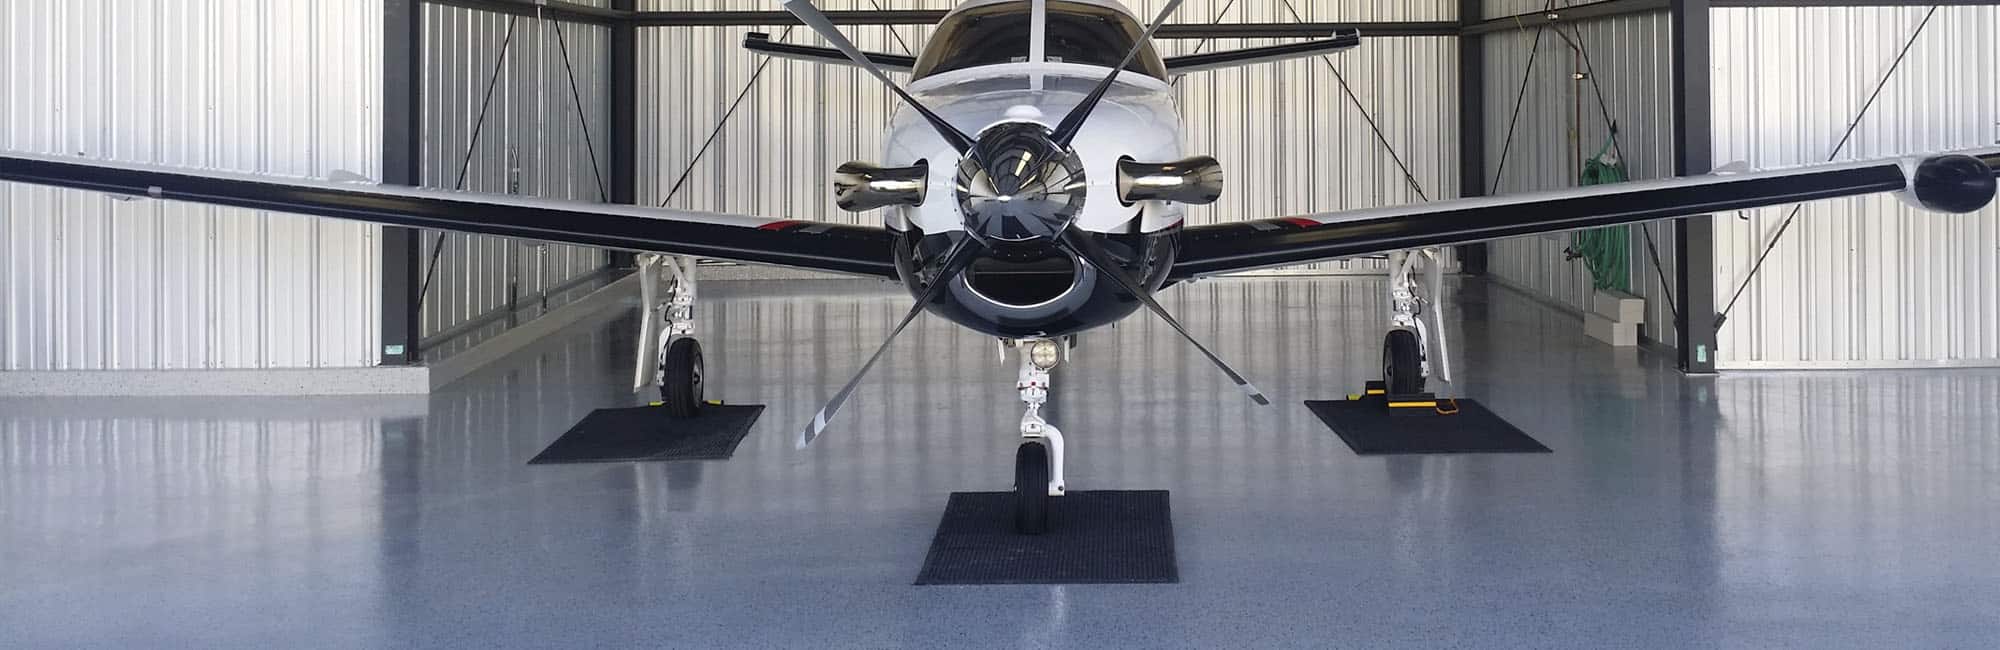
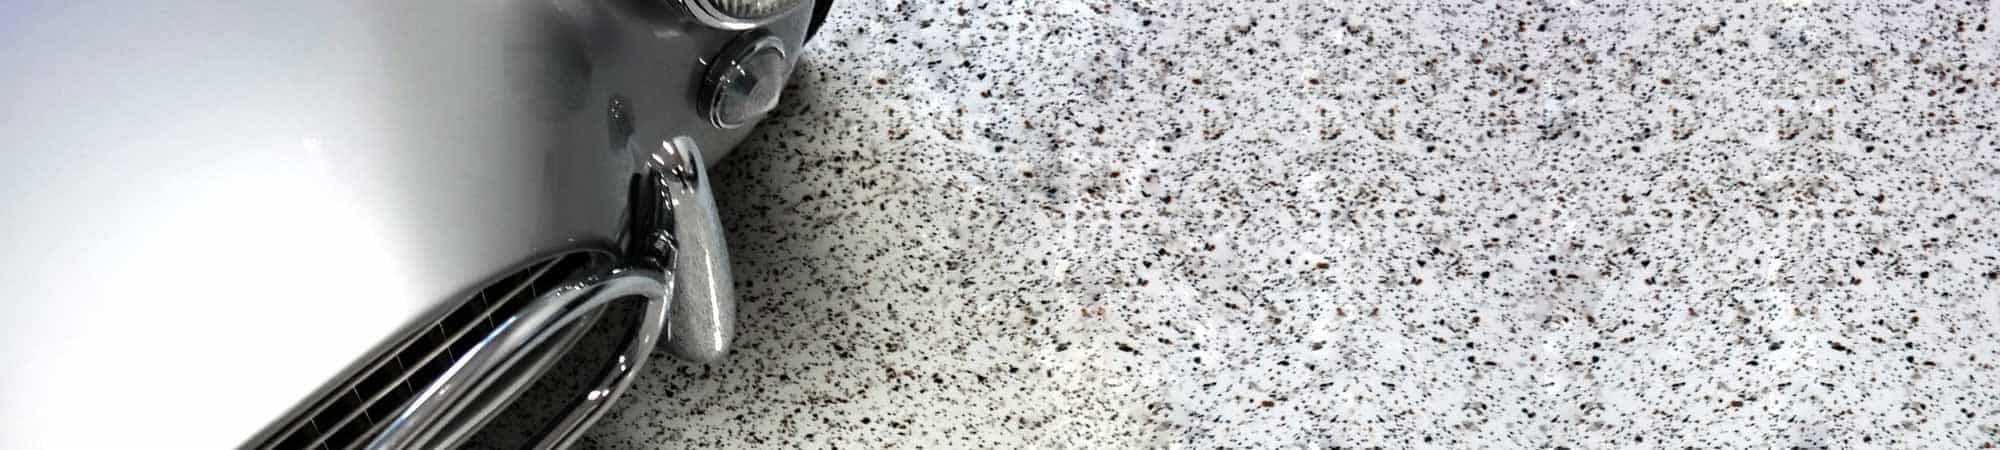
Coating Systems Category: Metallics
Metallic coating systems provide a flowing, 3-D marbled look with iridescent metallic accents. They’re perfect for spaces requiring real visual impact. These systems aren’t recommended for garages or high-traffic areas; however, they’re sublime in kitchens, basements, hallways and family rooms.
Our Liquid Art and Liquid Minerals series are examples.
Coating Systems Category: Sealing
Clear sealing coating systems can be applied to “bring-back-to-life” and protect substrates like concrete, exposed aggregate, pavers and brick. These systems use a moisture-mitigating, UV-stable and chemically-resistant coating that acts like a sealer…but it’s not what you’d find in your local hardware store. It’s far better. It lasts longer and prevents the need to re-seal year-over-year. Remember though, it’s a clear sealer, so any concrete imperfections will show through.
Our Clear Sealing & Staining system is an example.
Are Epoxies the Only Coatings?
Despite this articles reference to “epoxy flooring”, there are several coating types that can be used to create a coating system (a coating system is several layers of applied coatings). There are 100%-solids epoxies, water-borne epoxies, polyurethanes, and polyurea-polyaspartics to name a few. More than one coating type can be used within the same coating system.
The specific coating types used within a coating system should be selected based on factors related to the space and substrate being coated. These include: the ability of the coating to penetrate concrete and mitigate moisture, the resistance of the coating to ultraviolet light exposure (driveways), chemical staining (garages), and odors (basements), the required “return-to-service” duration…and of course, cost.
Expert installers have all these coating types in their arsenal and use them to according to your unique space. Amateurs don’t (“1-day polyurea” contractors only use polyurea-polyaspartics…and this is a problem).
Concrete Assessment
Before starting the installation of your epoxy flooring, your concrete must be properly assessed. In the very least, your concrete requires an accurate measurement of its square footage, its moisture content (using a moisture meter), and an assessment of any damage (cracks, pitting, efflorescence) and surface contaminants. Once the assessment is complete – this is usually done during your on-site estimate – the installation is scheduled.
Concrete Preparation: Grinding
On the first day of installation, your concrete will be prepared to create a perfect “canvas”. This involves grinding using powerful diamond grinders, hand grinders, and HEPA-filtered vacuum attachments (to mitigate for dust). The goal here is to create a ‘profile’ in the concrete to ensure proper penetration and bonding of the first epoxy (primer) coat.
In this case, I specifically referenced “epoxy” because these products provide the best concrete penetration…never should a polyurea-polyaspartic be applied direct-to-concrete! Without an adequate ‘profile’ (or if the wrong coating type is used), the primer coat will not properly adhere to the substrate and could peel.
Final Epoxy Flooring Installation
After substrate preparation, the first coating is applied. This consists of the moisture-mitigating epoxy primer coat. Selecting an epoxy for the primer coat is critical to ensure proper penetration and bonding even under medium to high moisture conditions! Subsequently, in flaked systems, your selected PVA or PVA/mica stone blend is ‘broadcast’ into the primer coat and layered with one or more clear coats (polyaspartic clear coats for garages).
Final Touches to the Epoxy Flooring
Once the epoxy flooring is applied, your garage or basement is ready for any other final touches you desire. You can add drywall, paint, lighting or heating…or not…the beautiful new flooring may be just enough. A little furniture – a couch, a lounge chair, a wall-mounted TV – and you’re good to go.
The perfect gift is just a phone call or click away. Talk to us – GarageFloorCoating.com of Montana – your epoxy flooring specialists. We’ll answer your questions, talk budget and style, and help arrange your perfect gift… brand-new functional space for your significant other.